A variety of manufacturers offer color-calibrated monitors for work. There are many brands available, with each offering a different set if features. Before you buy, make sure you read through the pros and con's of each model.
Spyder5ELITE
Datacolor Spyder5ELITE can be used to calibrate your monitor. The system offers both basic features and advanced functions. The system also contains a manual and troubleshooting instructions. Datacolor has more information.
The Spyder5ELITE offers fine-tune gray calibration, with unlimited options for gamma, white point, and luminance. The monitor has an exact color profile and a accurate representation of colors. It is easy to calibrate your monitor. You can also run the ReCAL software to check the accuracy of the monitor's color. The Spyder5ELITE includes a compact colorimeter with patented 7-detector optical engine, which delivers up to 55% improvement in low luminance color accuracy.
Spyder5
Spyder5 color calibrated monitoring is built to give accurate color reproduction. The Spyder5 monitor is composed of a sensor and software. It allows users the ability to set different colors and compare them against reference standards. The Spyder adjusts monitor colors to match reference standards. The Spyder software saves calibration settings to a file after calibration. When the computer is restarted, the settings of the monitor will be restored.
A Spyder5 monitor is calibrated to REC. 709, the most well-known color standard. It can also calibrate to 2.2/6500K, which will give you the best possible colour reproduction. The device is equipped with many features that make it a great tool for video and photo editing.
Spyder5 Elite
Datacolor Spyder5 Elite monitors can be calibrated to show exact color levels. You will need to download the included software, connect the Spyder and calibrate the monitor. The online activation process will be completed by entering your Spyder serial number and name.
Spyder5 Elite software also includes a wizard to help you navigate the process. The optional Studio Match feature allows users to achieve consistency across all their monitors. You have the option to manually adjust certain settings such as White Point, Gamma, and White Point. In addition, the software provides presets to help you adjust the brightness of your monitor.
FAQ
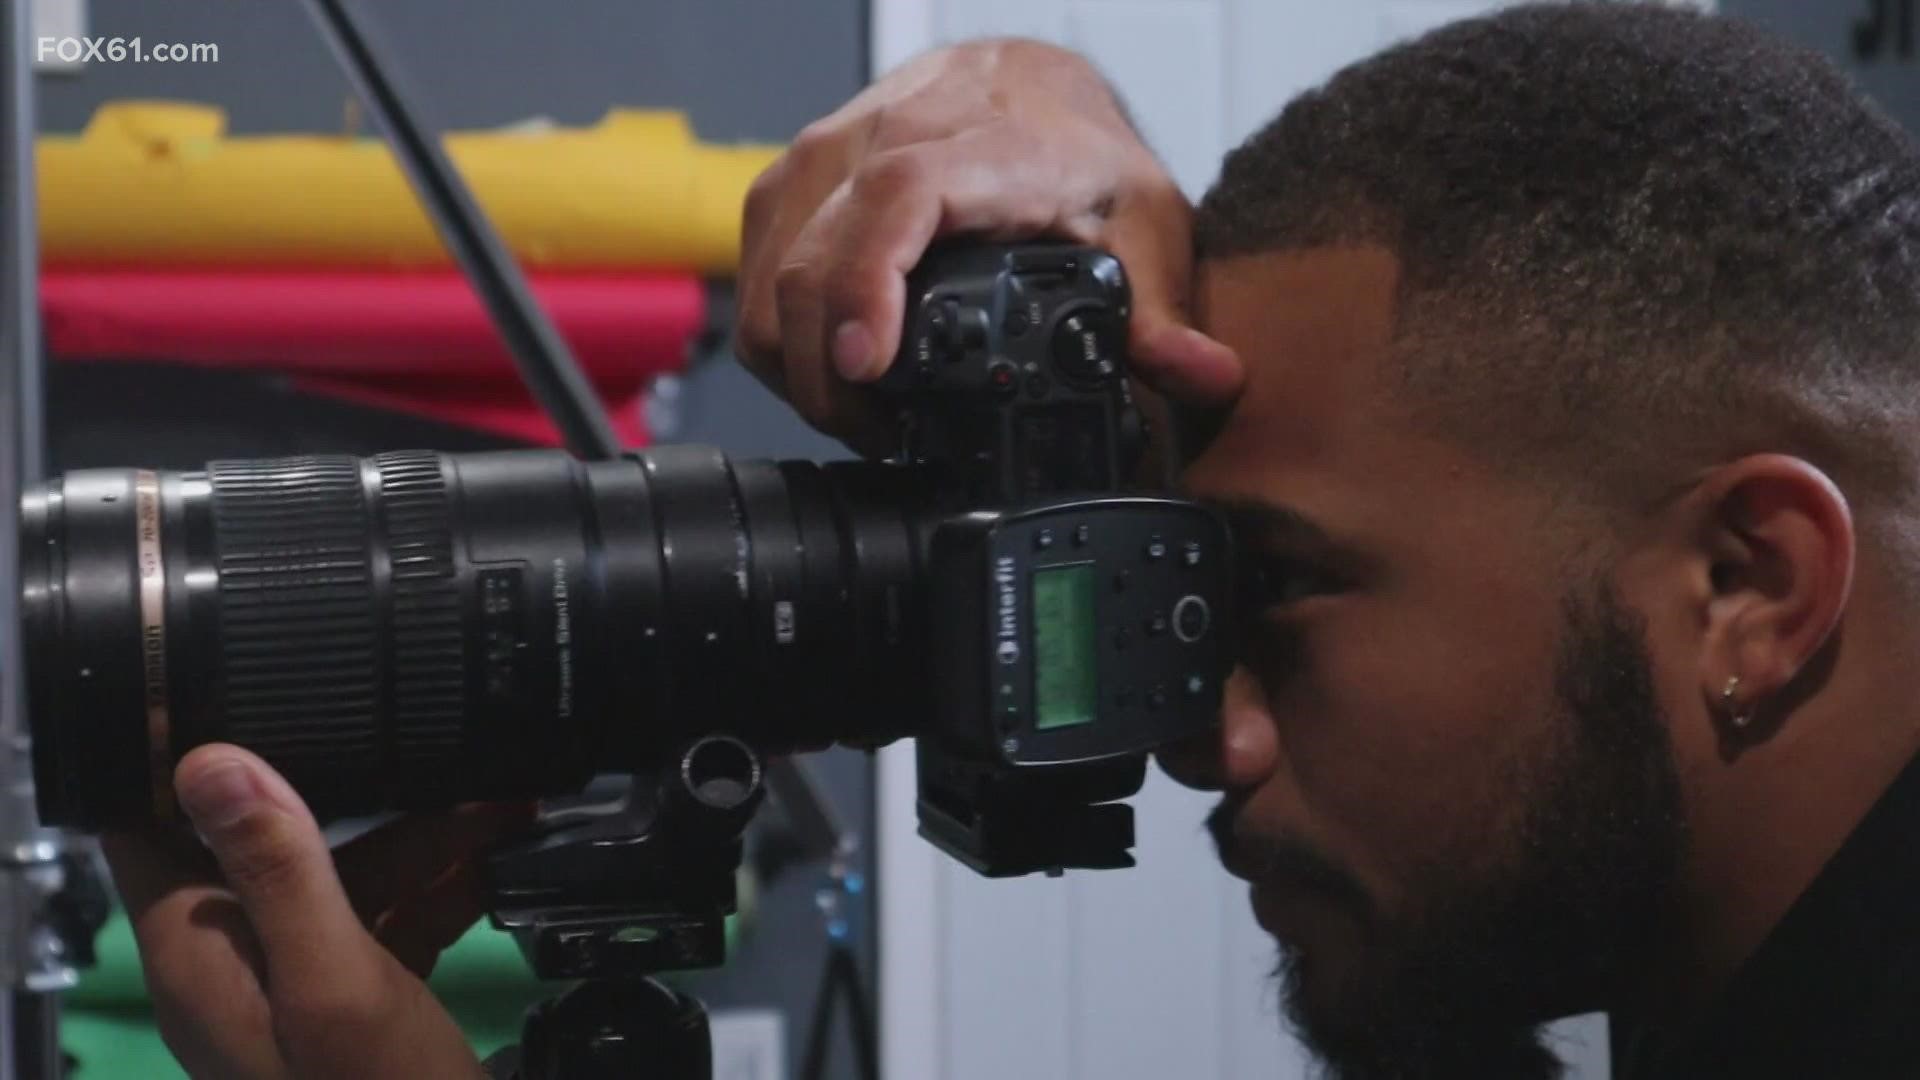
What Camera Should I Get
All depends on the type of photographer that you want to be. For beginners, a simple point-and-shoot is the best camera.
Once you have mastered the basics you will likely need something more advanced. The decision is yours.
Here are some things to consider before purchasing a camera.
-
Features: What features do you need? What features do you need? What number of megapixels has your camera? Is there a lookfinder?
-
Price: How much do you want to spend? Do you plan to update your camera every other year?
-
Brand: Is it possible to be happy with your brand choice? You don't have to settle for anything less than the best.
-
Functionality: Can your camera operate in low light conditions well? Are you able to take high-resolution images?
-
Image Quality: How sharp and clear are your images?
-
Battery Life: How many charges will your camera take to run out?
-
Accessories: Do you have the ability to attach flashes, additional lenses, and so forth? ?
What equipment is necessary to begin digital photography
First, you need to decide what type of camera is best for you when you first start digital photography. There are many choices: DSLRs (digital single lens reflex camera), point-and shoot compact cameras and camcorders. Each offers different features and benefits. DSLR cameras, for example, offer superior quality images but are heavier and larger than other types. Point-and-shoot cameras are smaller and lighter and often include automatic settings for certain situations. Camcorders are capable of recording excellent video quality and can also be used to take still photos. Smartphones are small, light, and easy to carry around and offer great image quality and many advanced features such as GPS mapping, music playback, and Internet browsing.
After you have decided which type of camera you want to purchase, you need to decide if you prefer to buy a new or used model. You can find affordable used cameras, particularly if you bought them in the last few years. Newer models usually cost more as manufacturers invest large amounts of money to develop new technology.
Next, you need to purchase lenses. Lenses play a key role in determining the quality of your photographs. These lenses allow you control the focal length of your lens, which allows you to zoom into the scene and not lose focus. Some lenses include built-in flash units. Others require external flash. There are many brands offering a variety of lenses. Each brand has their own distinctive characteristics.
Finally, you will need to invest in memory cards. Memory cards store photos taken by your camera. It can hold hundreds to thousands of photos, depending on how big your card is. Multiple memory cards are required if you intend to take many pictures.
What camera is best for beginners and what are the pros and cons?
The best camera to use for beginners is dependent on your needs, budget, and skill level.
For instance, you could choose a point & shoot digital camera if your goal is to save some money. These cameras can be very versatile, but they offer excellent quality.
Digital Single Lens Reflex (DSLR) cameras can be equipped with interchangeable lenses that enable you to shoot different types. These cameras are generally more expensive that point-and clicks, but provide greater flexibility.
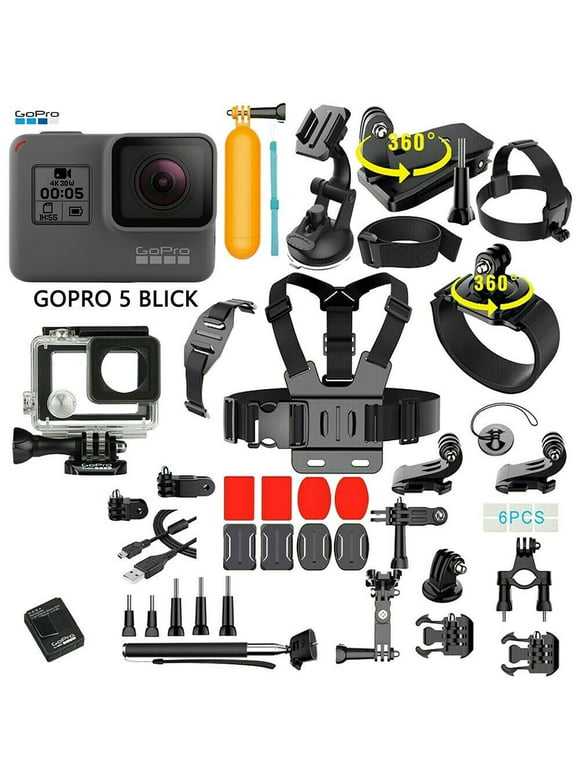
A beginner's package is a great way to get started in photography. The package includes everything you need: a camera, lens, memory cards, tripod, flash and a camera body.
You should also remember to buy additional batteries.
Do I Need A Tripod?
This is a question everyone asks. While a tripod may not be necessary all the time, it can prove to be extremely useful.
It can be used to steady your camera while you take slow shutter speeds pictures. Tripods can be a huge help when you are shooting landscapes or stationary subjects.
However, a tripod can blurriness if you are photographing moving subjects, such as people or athletes. How do you determine which situations need a tripod?
A tripod is useful when you need to photograph stationary or fast moving subjects. Examples include:
-
Sports
-
People
-
Landscapes
-
Close-ups
-
Macro shots
If you're unsure whether you need a tripod, try this test. Hold your camera still and look through the viewfinder. If you see blurred lines or movement, then you definitely need a tripod.
If you don’t see blurring, adding a tripod is unlikely to make any difference.
However, if you do decide to invest in a tripod, here are some tips to keep in mind.
-
Make sure your tripod has smooth legs. This will prevent unwanted vibrations from shaking your lens.
-
Make sure you choose a sturdy tripod. Some tripods are made of plastic, so they may not be as durable. Opt for a sturdy metal tripod.
-
You might consider purchasing a remote control. This remote control lets you remotely control your camera. This allows you to set the shutter to automatically fire when you press it.
-
Make sure to look for a tripod that rotates 360 degrees. It makes it easy to position your camera horizontally or vertically.
-
Remember that tripods can be expensive. Expect to spend between $100 and $200. You will still get a lot out of your money.
-
Don't forget about accessories like filters and memory cards.
-
Before you buy online, make sure to check your local shops. Many retailers offer free shipping.
-
Review a product to find out what other customers think.
-
Ask friends and family members who own similar products.
-
For customer feedback, visit message boards and forums.
-
Find user reviews online.
-
Use websites like Amazon.com to compare prices and read customer feedback.
-
See photo galleries to see some of the creative uses for tripods by photographers.
What Lenses Should I Use
Beginners often ask, "What lens should I purchase?" There are many options. It can be difficult to make a decision.
The good news is that you don't necessarily need to buy a new lens every time you purchase a new camera. You can simply add lenses later.
Here are three types of lenses to start with.
-
Wide Angle Lens: 14mm - 24mm: These lenses provide a wide angle of vision, which allows you to capture more details of your subject. You can also zoom in without losing image quality.
-
Normal/Standard Zoom Lens (28mm - 70mm): These lenses allow you to change focal lengths while maintaining image quality.
-
Telephoto Zoom Lens (70mm-200mm): These lenses can be used to capture distant subjects. These lenses allow you stay focused on your subject even when they appear small.
These lenses can also be combined to produce different effects. Combining lenses can create different effects. For example, a normal lens could be used to capture small details while a telephoto lens is used to capture faraway objects.
Cameras: Where to Buy?
Cameras can be purchased online from many different places. However, we recommend buying from a reputable retailer like B&H Photo Video. They have knowledgeable staff to answer your questions.
B&H ships fast and securely so it is easy to have your order delivered at your doorstep.
This video will explain how to shop for cameras.
Should I get into photography as an interest?
Photography is a wonderful way for you to capture your memories and share them. You can also learn about the world around your camera.
You can find many online resources to help you learn how to take better photographs.
You may also want to consider taking classes at local community colleges or art schools. This allows you to meet other photographers who can provide valuable feedback on your work.
Statistics
- The second easiest way to get blurry photos 100% of the time is to use a cheap filter on the front of your lens. (photographylife.com)
- While I cannot prove that all of those spots were not sensor dust, the photo was taken during a heavy snowstorm…so I guess that 99.8% of the spots are snowflakes. (bhphotovideo.com)
- This article received 13 testimonials, and 100% of readers who voted found it helpful, earning it our reader-approved status. (wikihow.com)
- By March 2014, about 3 million were purchased monthly, about 30 percent of the peak sales total. (en.wikipedia.org)
External Links
How To
How to capture pictures under low lighting conditions
Low-light Photography is when you take photos in dimly lit or dark environments. It requires special equipment and techniques. The main challenges in this field include controlling exposure, whitebalance, and sharpness. There are two types of low light photography: flash and ambient. Flash photography works best when there's enough light around. A flash is required if there isn’t enough light. A flash might be necessary if you are photographing a subject indoors and outside. You can also shoot at night when the moon is shining. This will allow you to get nice shadows and colors. Another option to consider is shooting during twilight. Twilight occurs when the sun has set, but there is still daylight left.
Long exposures may be something you want to explore. Long exposures can be used to capture images even if the shutter has been closed for several minutes. When the shutter remains closed, the camera records only light that falls on the sensor. This light falls onto the sensor even after a long exposure. Because the shutter was closed, no new light enters your lens. As a result, you see very little movement. You can ensure clear images by turning off automatic settings such as autofocus or autoexposure. Make sure to adjust the ISO setting before starting to shoot. An ISO setting 200 gives you more control over how bright or dim your image appears. The shutter button should be pressed quickly when you are ready to take the photo. This causes the shutter to close completely. Then, you should hold the shutter button until the last possible second. You will prevent additional light from entering your camera by keeping the shutter button down. Once you take the shot, wait a while before you release the shutter. This allows the camera to process the image. While your image processing is taking place, you will be able to view your photos on your screen. Once you are satisfied with the photos, save them onto your computer.