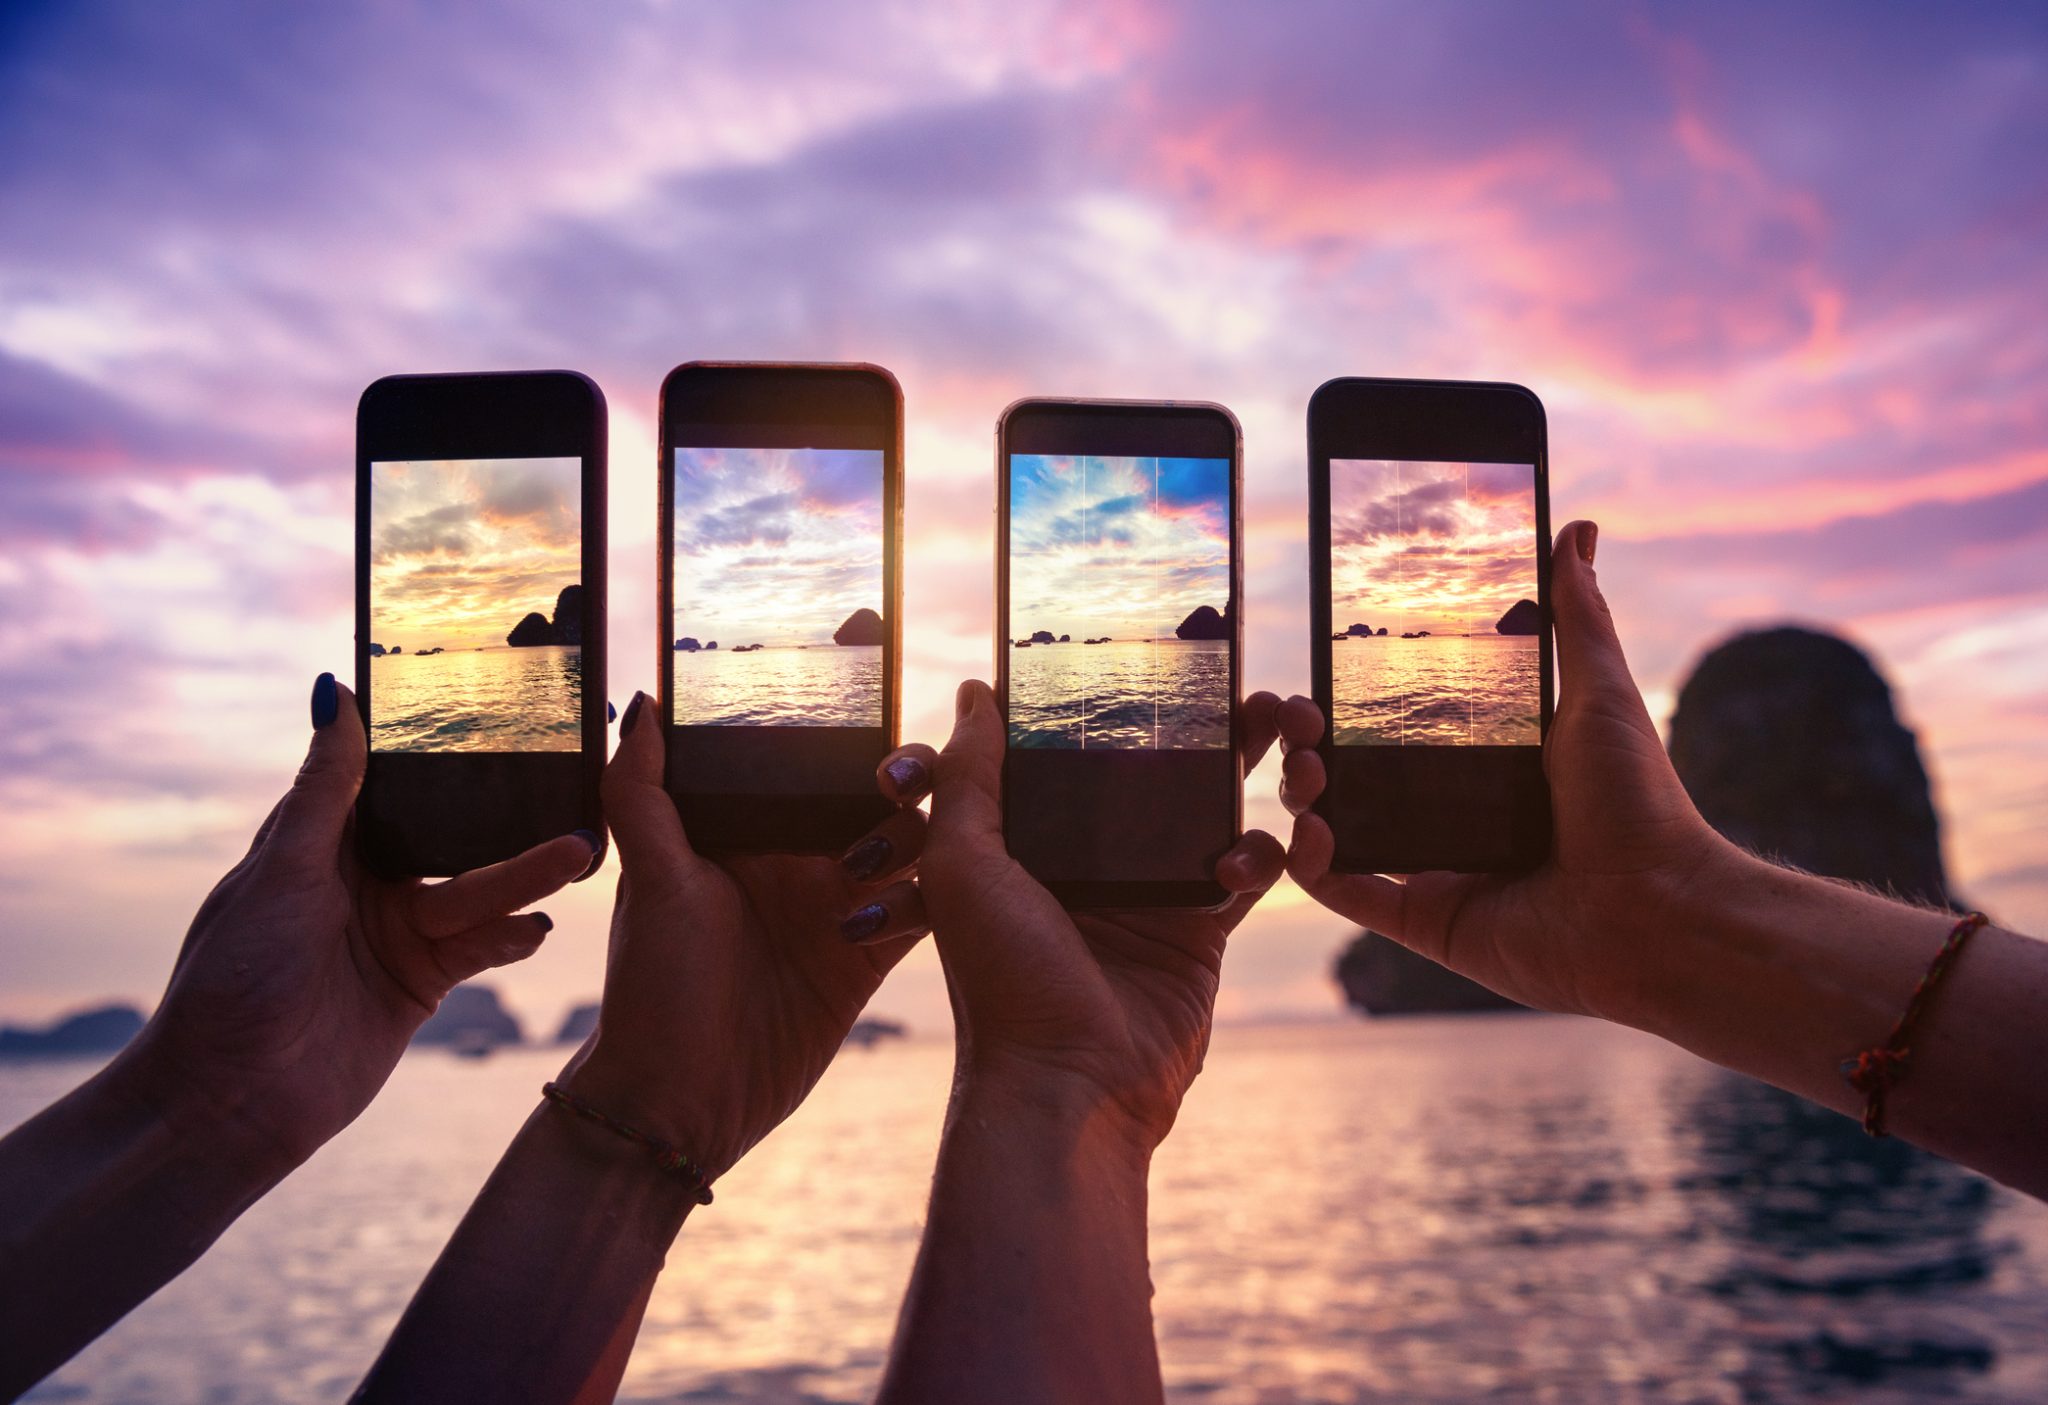
There are many options to enhance your photos' quality. Learn the Rule of Thirds. Use a wide angle lens. A small aperture. Try moving closer to your subject. Photography can be a relaxing experience. You can improve the quality and enjoyment of your photographs by using these simple tips. It may surprise you at the results that can be achieved by just experimenting with different settings. Here are some of the best tips and tricks.
Rule of Thirds
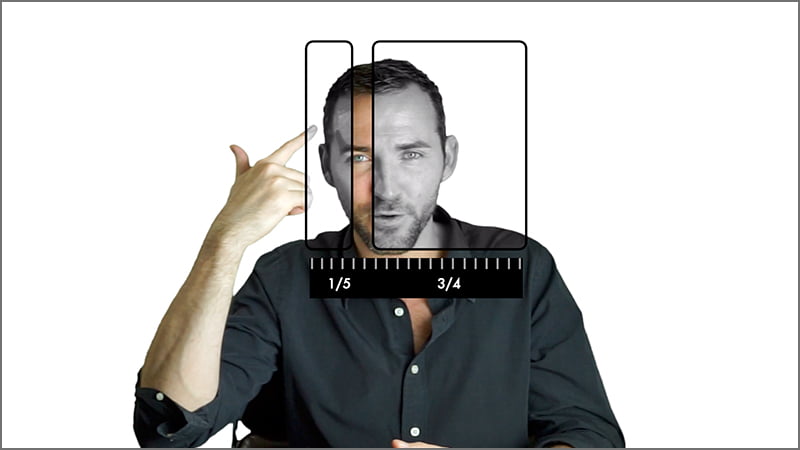
You can create a more balanced image by using the Rule of Thirds as one of the fundamentals of composition. The optimal placement of your key elements will draw attention to them and allow empty space to fill in the remaining two-thirds. If you place your key elements at the center of the photo, your picture may feel static and boring. If the image feels stale and boring, it may make the viewer less inclined to view it. Follow the rule for thirds to create a dynamic image that takes the viewer on visual journeys.
Using a wide-angle lens
There are many advantages to using a wide-angle lens. However, there are some things you should know before using it. The inherent distortion of the camera can cause straight lines to appear to bend outward. This distortion is most obvious when a photographer is photographing a person. However, it can also affect objects close to the frame's edges. Additionally, your subject may appear to lean toward the camera lens.
Make sure to use a small aperture
An excellent way to speed up your photographic process is to learn more about the aperture. While auto settings and scene modes can take you a long way, they'll only get you so far. You will eventually need more control over your photos. A small aperture can help you do that. Here's how you can use it. Simply select the "fx” setting on your camera to start experimenting with different images.
Your subject is closer than you think
Photography offers many advantages, including the ability to get closer to your subject. It creates a more interesting composition with fewer distracting background elements. This makes the subject's texture collection more interesting. Also, moving closer to your subject is an engaging and intimate experience, which often shows in the photos. These are just a few ways you can get closer to your subject when taking photos. Compare the pros and cons of each. Which one is best for you?
Using a tripod
One of the most common reasons to use a tripod in photography is because it increases stability. A camera that is too unstable will produce shaky images, so a tripod makes a world of difference. The tripod will ensure that the camera is in the right place and avoid shaking. This prevents blurry images. Slow shutter speeds can be used to reduce blurry photos when using a tripod.
Using a flash
Flashes are one of your most powerful tools when it comes to taking photographs. An unmodified flash will produce dark shadows and harsh lighting on your subject if it isn't modified. It is best to move back and use an extended lens. Also, the flash must bounce off of something before it strikes your subject. This is how to properly use a flash.
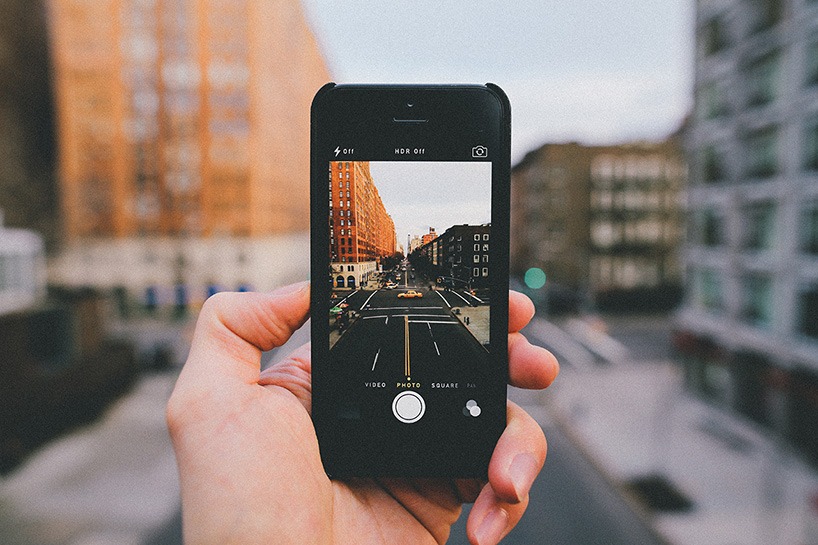
Using your smartphone's zoom
Many new photographers make the common error of trying to use their phone's zoom. This will result in a loss of time and effort. Although a smartphone's zoom does not provide full resolution images, many people don't care, and are content with a lower-quality image. As smartphone photography has become more popular, more people are looking for more premium solutions that offer optical zoom, such as the camera in the Samsung Galaxy S4.
FAQ
How do I get started with digital photography?
If you are just starting to get into digital photography, the most important thing is to choose which camera you would like. There are many choices, including DSLRs (digital one-lens reflex cameras), point and shoot compact cameras, camcorders, smartphones, and camcorders. Each camera has different benefits and features. DSLR cameras can produce high-quality images, but they are usually heavier and more bulky than other types. Point-and-shoot cameras are smaller and lighter and often include automatic settings for certain situations. Camcorders can record excellent video and have some still photography modes. Smartphones are lightweight, portable, and light. They offer excellent image quality, advanced features, such as GPS mapping, music playingback, and Internet browsing.
After you have decided which type of camera you want to purchase, you need to decide if you prefer to buy a new or used model. If the camera was purchased in the past few years, it is possible to find used cameras at reasonable prices. New models generally cost more because manufacturers spend large amounts of money developing new technology.
Next, you will need lenses. Lenses play a key role in determining the quality of your photographs. They enable you to adjust the focal length of the lens so that you can zoom into the scene with no loss of focus. Some lenses have built-in flash units, while others require external flash units. There is a wide selection of lenses available from different brands. Each lens has its own characteristics.
Finally, you'll need to buy memory cards. Memory cards can store pictures that were taken with your digital camera. You can store hundreds, thousands, or even more pictures depending on the size of the card. Multiple memory cards are required if you intend to take many pictures.
What Camera Should You Get?
All depends on the type of photographer that you want to be. A basic point-and-shoot camera is probably all you need if you're just starting out.
Once you have mastered the basics you will likely need something more advanced. The choice really comes down to personal preference.
Here are some things to consider before purchasing a camera.
-
Features: What features are you looking for? Do you intend to use manual or autofocus settings? What number of megapixels does the camera have? Is there a lookfinder?
-
Price: How much are you willing and able to spend on your camera? Are you looking to replace your camera every few years?
-
Brand: Is it possible to be happy with your brand choice? There is no reason to settle for less than the very best.
-
Functionality: Can your camera function well in low light conditions Are you able to take high-resolution images?
-
Image Quality: How clear are your images and how sharp are they?
-
Battery Life: How long can your camera last before it needs to be charged?
-
Accessories: You will be able attach additional lenses, flashes and other accessories. ?
Do I want to start taking photos as a hobby?
Photography is a great way of capturing memories and sharing them with loved ones. Photography also lets you learn more about the world around.
You can find many online resources to help you learn how to take better photographs.
You may also want to consider taking classes at local community colleges or art schools. This will enable you to make connections with other photographers who are able to give valuable feedback.
What can I do to learn photography?
There are many different ways to learn how take great photos. You could buy a book, attend a class, join an online community, watch YouTube tutorials, etc. You can't go wrong with doing it yourself if you are serious about mastering the art of photographing. By doing it yourself, you are in complete control of what goes into each shot. You'll only get better as long as your learning continues.
One of the greatest things about digital photography, however, is the fact that you don’t need expensive equipment. All you require is an internet-enabled computer and a good camera. All the rest is up to your imagination.
Here are some tips to get your feet wet:
-
Familiarize yourself with the manual settings for your camera.
-
Learn the basics of controlling your computer.
-
Take lots of photos.
-
These should be edited.
-
These are yours to share.
-
Keep practicing.
-
Experiment.
-
You can try different perspectives and angles.
-
Use light sources creatively.
-
Practice makes perfect.
-
Never be afraid to fail.
-
Be patient.
-
Have fun!
What can I do to improve my photography skills with my phone?
You don't need expensive equipment to take great photos! You can take amazing photos with just a phone.
It's easy to get started with the software.
There are many apps that both Android and iOS users can use to edit and share their photos.
If you want to start taking better photos, here are five tips to help you get started.
-
Set Up Your Camera App. Your camera application should be already installed on your device. If not, download it from Google Play or Apple's App Store.
-
Use filters and effects. Filters and effects allow you to change the appearance of your photo without having to touch your image.
-
Adjust Exposure. You can adjust exposure to alter the brightness of your image.
-
Shoot In The Right Light. Shooting in bright light makes it easier to see details in your subject. If you shoot in low light, it is possible to capture shadows or highlights in your photo.
-
Take Pictures of People. You can share the things that you love most by taking photos of others.
Check out this article to learn how to take better pictures with your smartphone: 5 Tips To Improve Photography Skills
What Lenses Should I Use
Most beginners will ask this question: "Which lens should I buy?" This is a difficult decision because there are so many options.
There is good news: You don't need to buy new lenses every time you buy a new camera. You can instead add lenses later.
Here are three types of lenses to start with.
-
Wide Angle Lens (14mm to 24mm): These lenses allow you to see more of your subject from a wider angle. You can zoom in and not lose image quality.
-
Normal/Standard zoom lens (28mm -70mm). These lenses allow the user to adjust focal lengths while still maintaining good image quality.
-
Telephoto Zoom Lens (70mm-200mm): These lenses can be used to capture distant subjects. These lenses allow you to focus on your subject, even though they may appear small in the frame.
These lenses can be combined in a variety of ways to create new effects. For example, you could use a normal lens to shoot close-up details and switch to a telephoto lens to capture far away objects.
Statistics
- The second easiest way to get blurry photos 100% of the time is to use a cheap filter on the front of your lens. (photographylife.com)
- That's the easiest way to get blurry photos 100% of the time. (photographylife.com)
- There are people out there who will pick at flaws they can only see in 100% crops of your photos. (wikihow.com)
- This article received 13 testimonials, and 100% of readers who voted found it helpful, earning it our reader-approved status. (wikihow.com)
External Links
How To
How to take pictures in low lighting conditions
Low-light photography is the art of taking photographs in dark or dimly lit environments. This requires special equipment and techniques. The main challenges include controlling exposure, white balance, and sharpness. There are two kinds of low light photography. Flash photography works best when there is enough lighting around. You will need a flash if you don't have enough natural light. For example, if your subject is indoors but outside, there might not be enough light to capture a good picture without a flash. Shooting at night in the moonlight hours is a good alternative to using a flash. You'll be able to capture beautiful colors and shadows this way. Another option is to shoot during twilight. Twilight is the time when the sun has set and there's still daylight.
You might also be interested in long exposures. Long exposures allow you to record images after the shutter has been open for several minutes. The camera records only light that falls on it if the shutter is not closed. The light that falls onto the sensor during a long exposure continues to be recorded. However, because the shutter remained shut, no new light enters the lens. You will see very little movement as a result. You can ensure clear images by turning off automatic settings such as autofocus or autoexposure. Before you begin shooting, adjust your ISO setting. An ISO setting of 200 will give you more control over the brightness or darkness of your image. The shutter button should be pressed quickly when you are ready to take the photo. This will make the shutter close completely. Hold the shutter button down for the final second. By holding down the shutter button, you prevent additional light from entering the camera. Wait a few seconds after you have taken the photo before you release the shutter button. This allows the camera's to process the image. While your image processing is taking place, you will be able to view your photos on your screen. Save them once you are satisfied with them.